Early history of photography
Prior to photography, there was never an opportunity to fix an image of the world with such precision. Artists spent years developing skills to paint and sculpt realistically, but the camera shifted the way artists started to think and has influenced the world ever since.
Camera Obscura
The first record of the camera obscura principle goes back to Ancient Greece, when Aristotle noticed how light passing through a small hole into a darkened room produces an image on the wall opposite, during a partial eclipse of the sun. The camera obscure was used by many artists to achieve a perfect perspective.
Camera Lucida
A camera lucida is an optical device used as a drawing aid by artists. The camera lucida performs an optical superimposition of the subject being viewed upon the surface upon which the artist is drawing. It was used as a portable drawing aid for artists. It was more controllable and portable than the camera obscure therefore more popular and common with artists in the 16th century.
Camera Obscura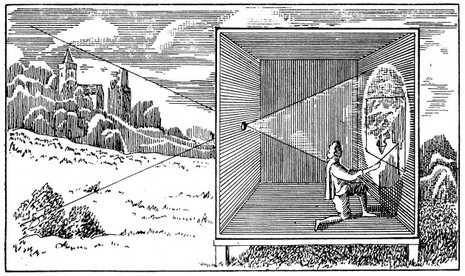
|
Camera lucida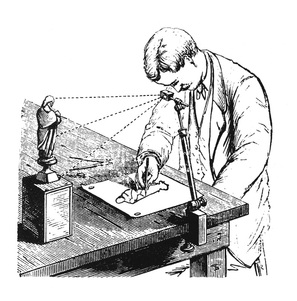
|
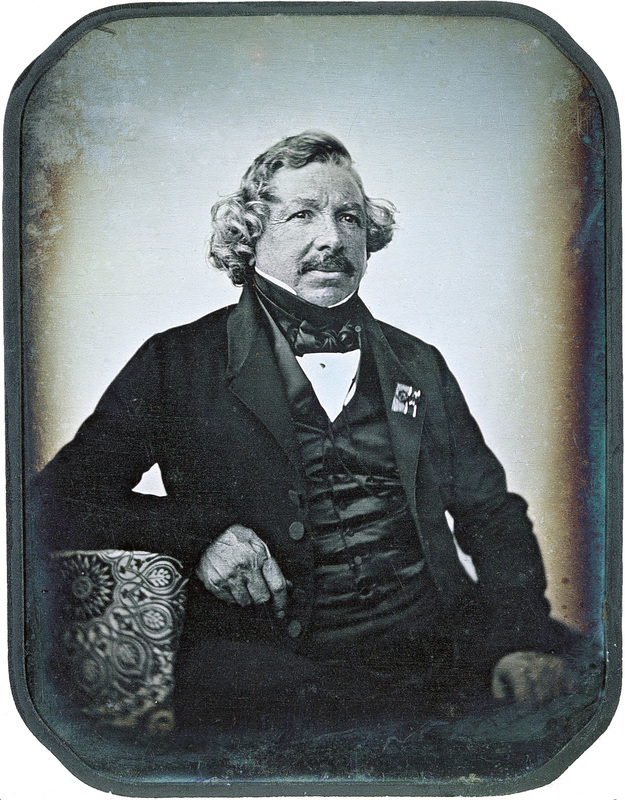
The Daguerreotype and the Calotype
The Daguerreotype was founded by a french man called Louis Daguerre in January 1839 which was used to take the first picture of a person who was getting his shoes polished so was standing perfectly still. The Daguerreotype took a type of photo which was literally reversed and monochromatic printed onto a metal plate.
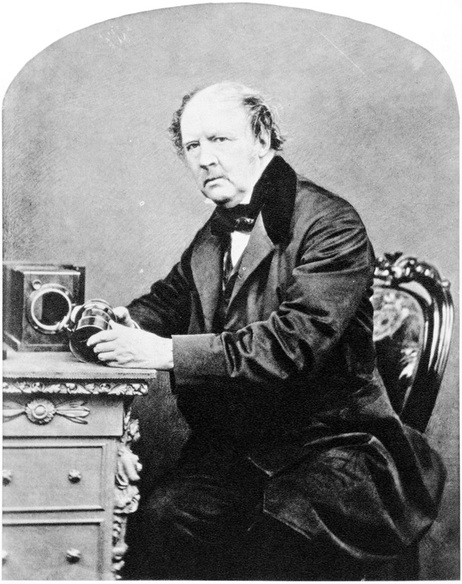
Arround the same time an english scientist by the name of William Henry Fox Talbot invented the Calotype. The Calotype had a distinct advantage over the Daguerreotype. This was because it could be reproduced as a negative as opposed to being a single unduplicatable image (it could
Arround the same time an english scientist by the name of William Henry Fox Talbot invented the Calotype. The Calotype had a distinct advantage over the Daguerreotype. This was because it could be reproduced as a negative as opposed to being a single unduplicatable image (it could
Daguerreotype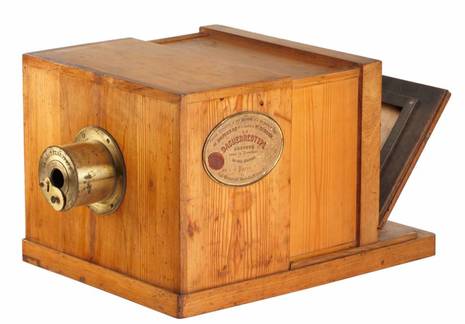
|
Calotype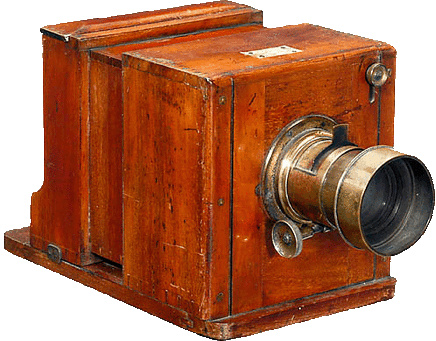
|
Task 1 Dark room
Photograms |
Painting with developer |
Double exposure |
Solarisation |
|
|

|

|
Photograms
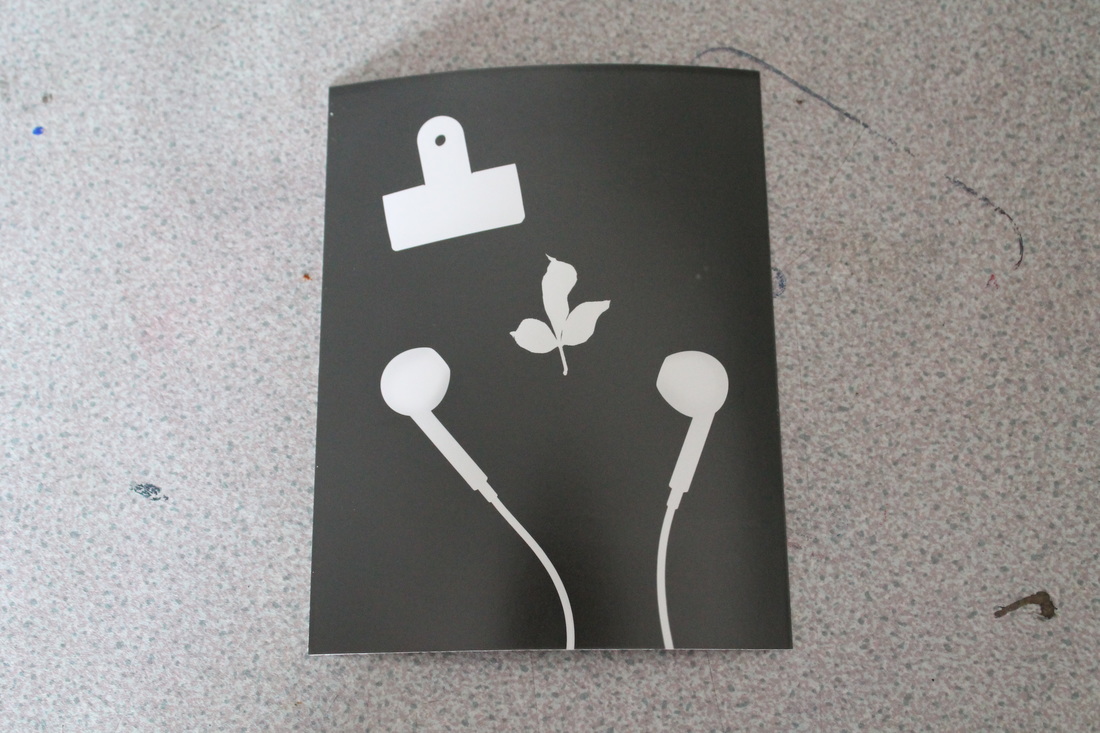

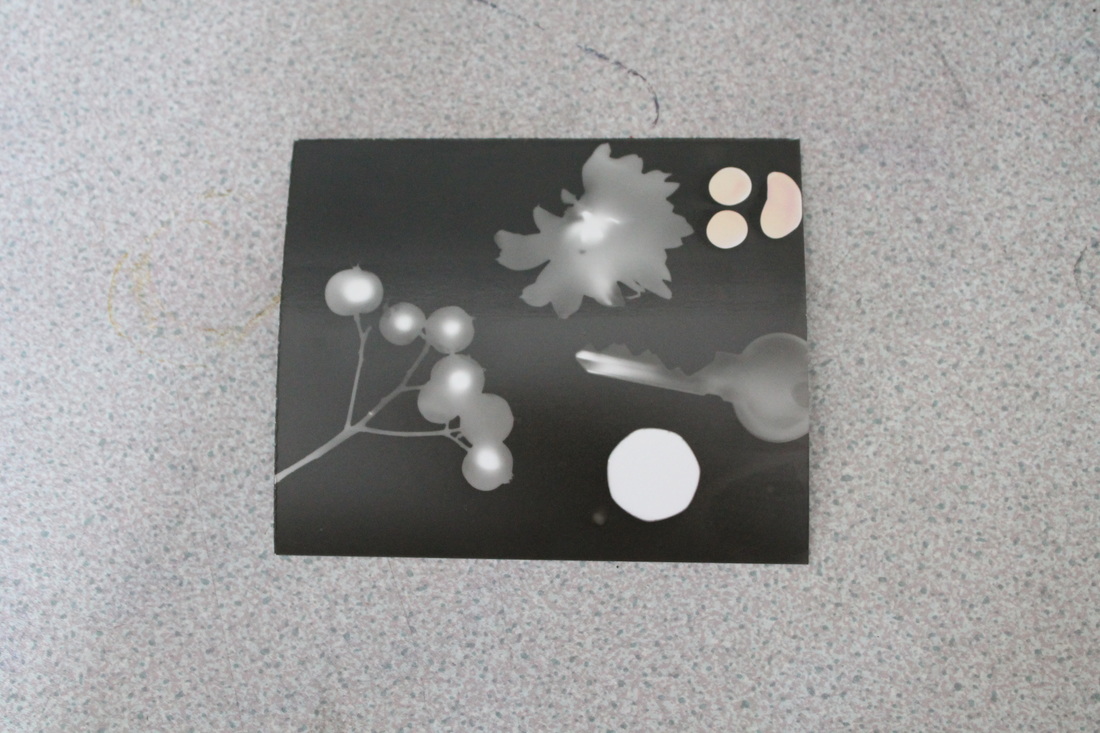
Process
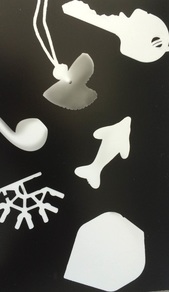
Equipment: Photographic paper, objects (scissors, keys, leaves), dark room and an enlarger.
1. set up the objects onto the photographic paper and place under the enlarger.
2. set timer to 3-5 seconds and remove red filter.
3. after photographic paper has been exposed place immediately in the developer liquid until images form.
4. after image has been formed place it in the stop liquid for a minute
5. after that place in the fix for one more minute.
6. finally rinse in water and leave to dry.
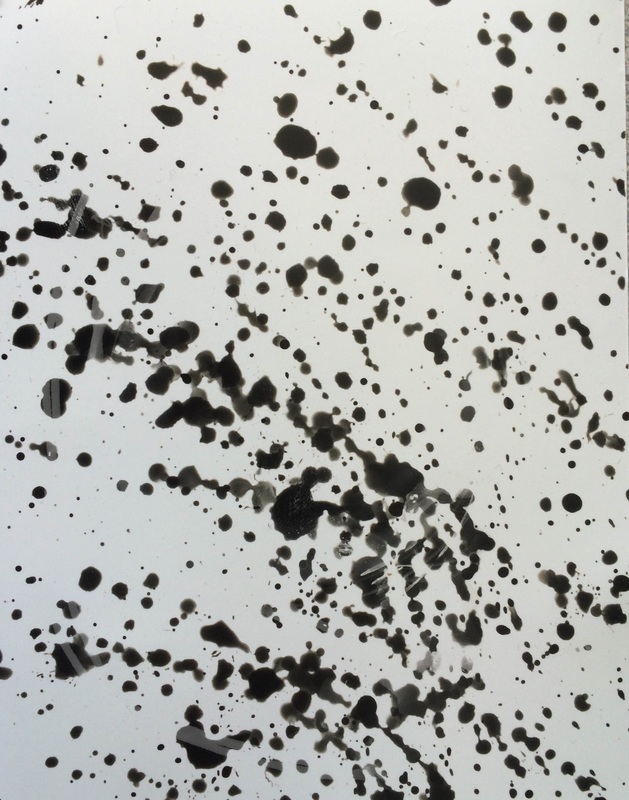
Painting with developer
Process
Equipment: Photographic paper, objects (scissors, keys, leaves), dark room and an enlarger.
1. set up the objects onto the photographic paper and place under the enlarger.
2. set timer to 3-5 seconds and remove red filter.
3. after photographic paper has been exposed paint with the developer liquid in a patern of your choice(flick developer onto paper) until images form.
4. after image has been formed place it in the stop liquid for a minute
5. after that place in the fix for one more minute.
6. finally rinse in water and leave to dry.
Double exposure
Process
Equipment: Photographic paper, objects (scissors, keys, leaves), dark room and an enlarger.
1. set up the objects onto the photographic paper and place under the enlarger.
2. set timer to 1-3 seconds and remove red filter.
3. after photographic paper has been exposed rearrange the objects and expose again.
4. place immediately in the developer liquid until images form.
5. after image has been formed place it in the stop liquid for a minute
6. after that place in the fix for one more minute.
7. finally rinse in water and leave to dry.
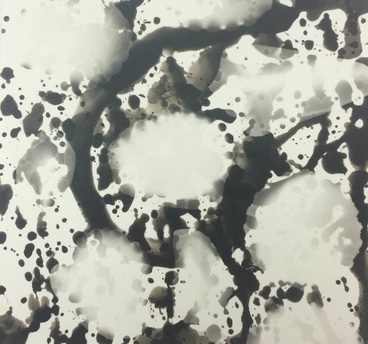
Solarisation
Process
Equipment: Photographic paper, objects (scissors, keys, leaves), dark room and an enlarger.
1. set up the objects onto the photographic paper and place under the enlarger.
2. set timer to 3-5 seconds and remove red filter.
3. after photographic paper has been exposed place immediately in the developer liquid until images form.
4. after the image is formed put it back under the enlarger and turn the light on for 2-3 seconds (the appearance should change).
5.after the image is solarised place it in the stop liquid for a minute
6. after that place in the fix for one more minute.
7. finally rinse in water and leave to dry.
Task 2
Camera obscure
Negative
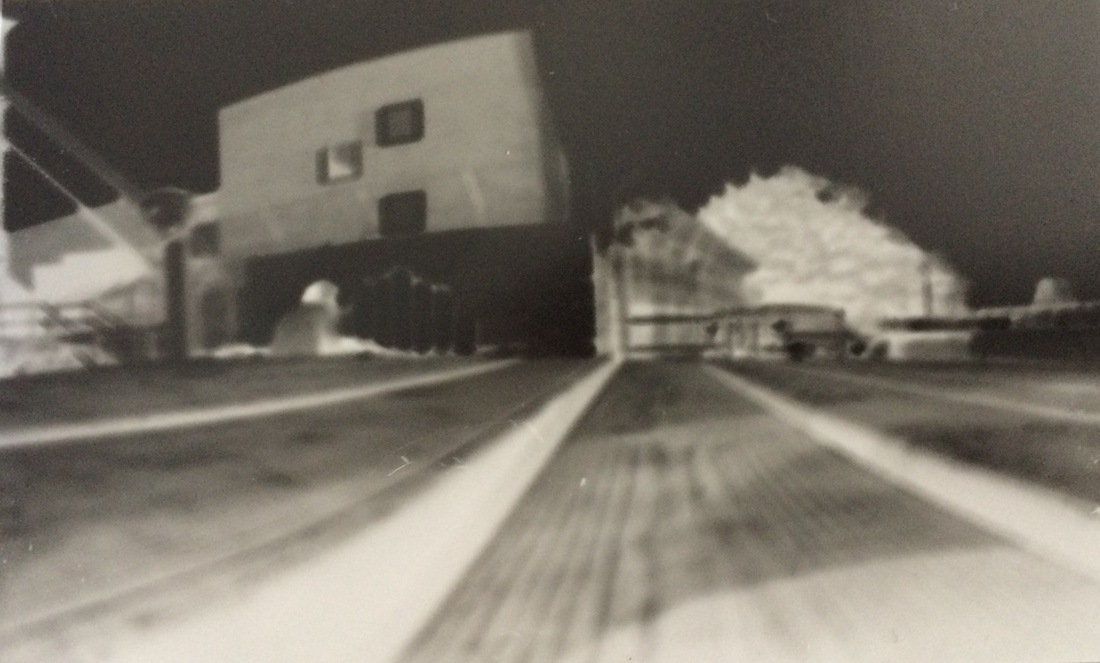
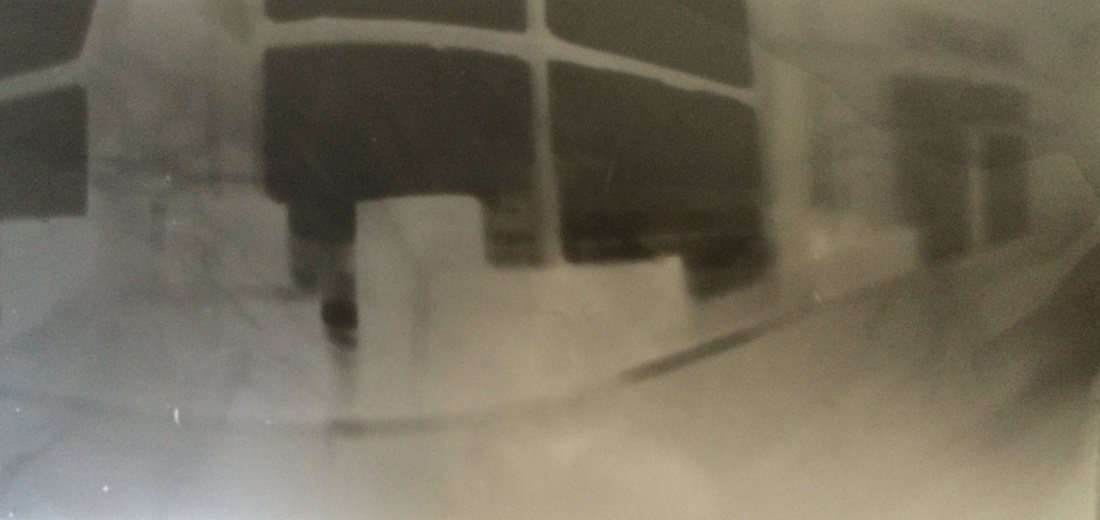
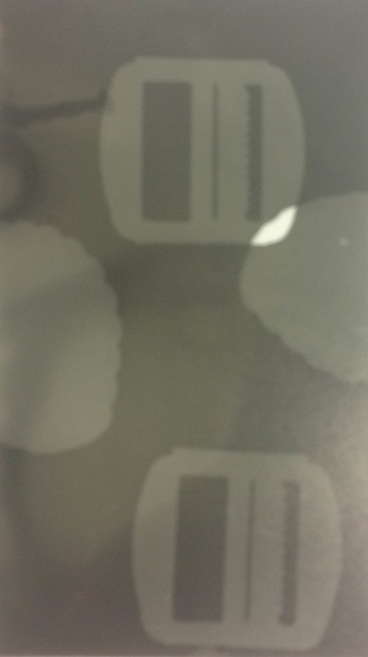
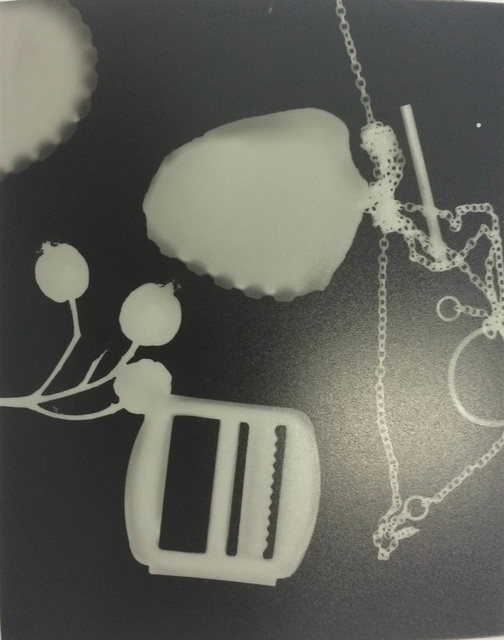
The pin hole camera is based on the camera obscura, which is a large room or container that has been blacken out except for a small hole of light. We put photographic paper inside the tin we used as the camera an made sure than all light was blocked out. There was a small hole which was exposed to the light for 5-10 seconds depending on how big the hole was. After the paper was exposed to the light the hole was covered and the photograph was taken into the darkroom to develop. The 4 images below show the progress of the photograms as each time we changed the exposure time to get better results.
sandwich print
Positive
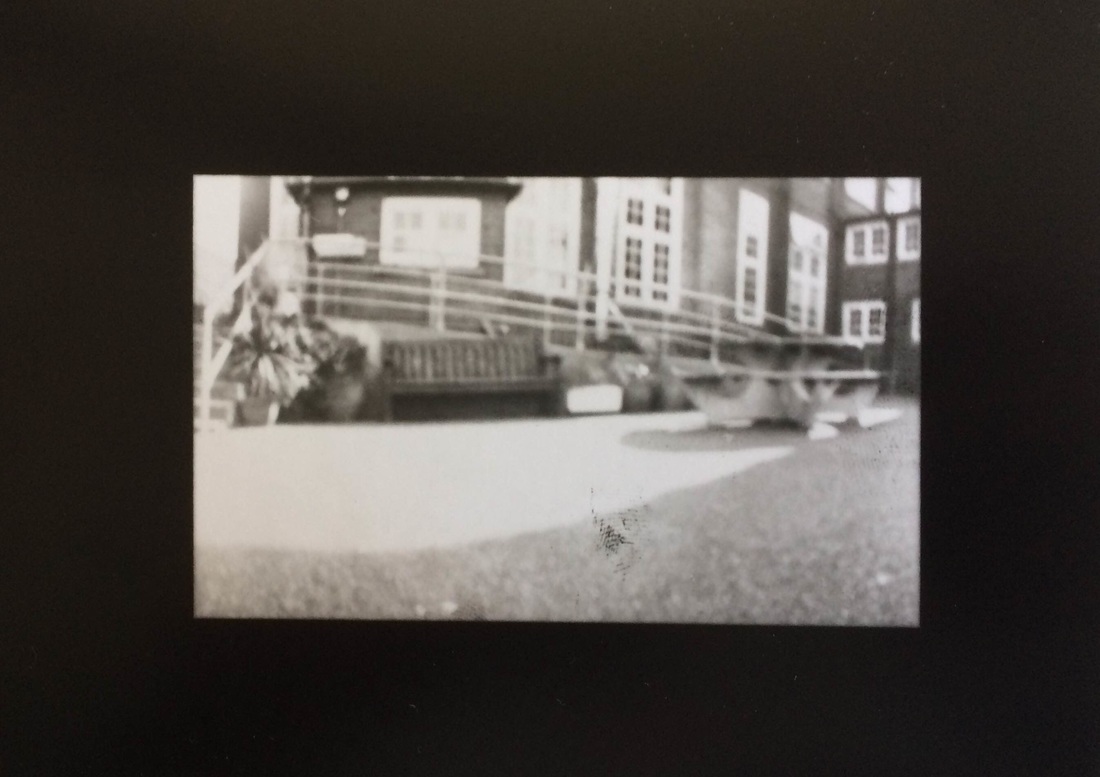
To achieve our sandwich prints we placed a piece of photographic paper under the enlarger with the photogram facing downwards, we then placed a piece of glass over the top and exposed it for 3 seconds.
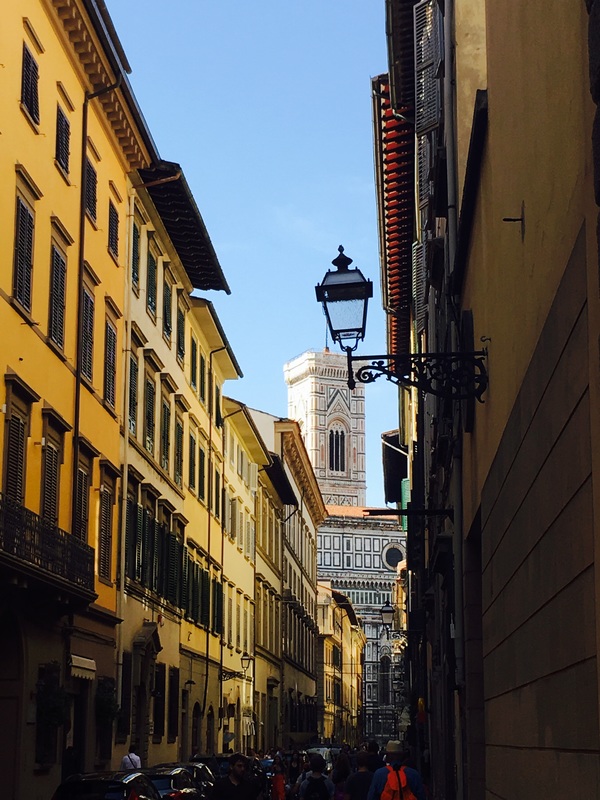
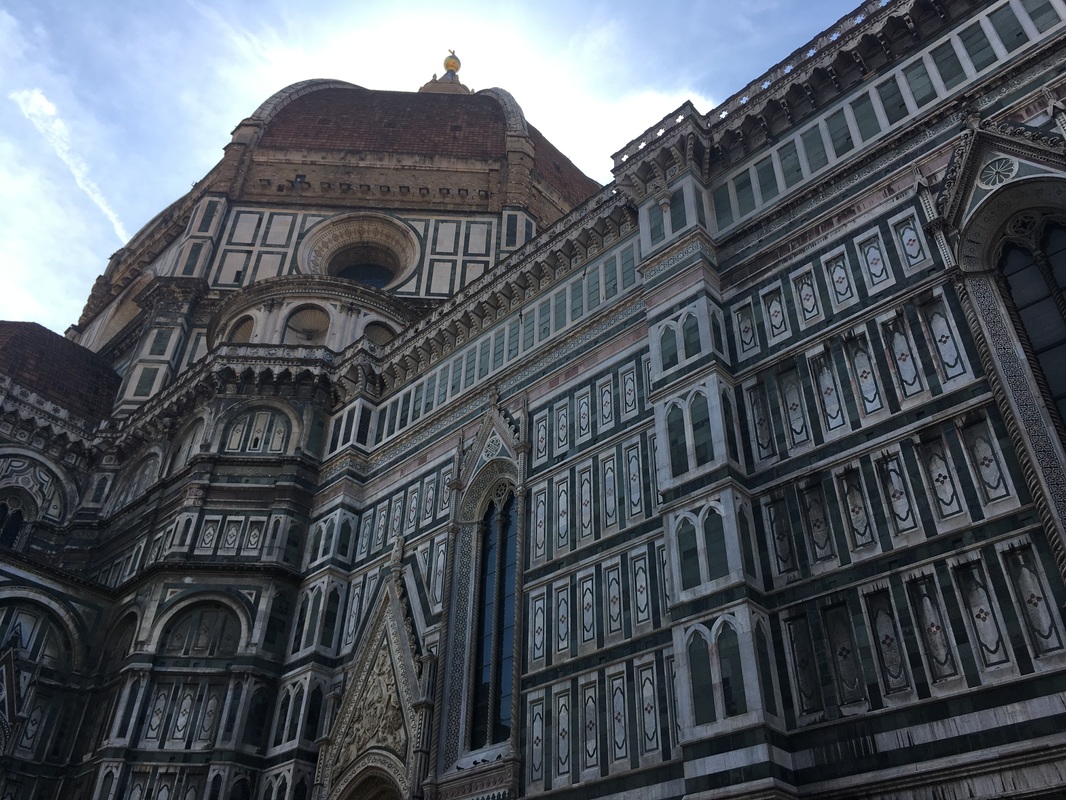
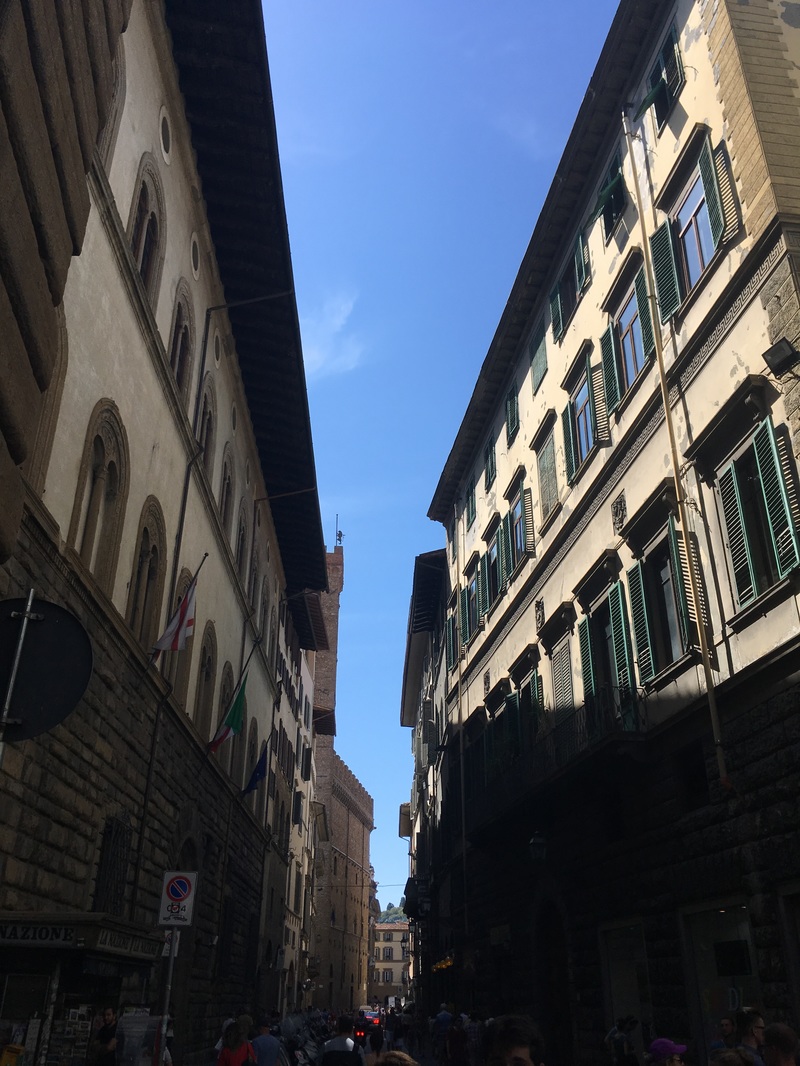
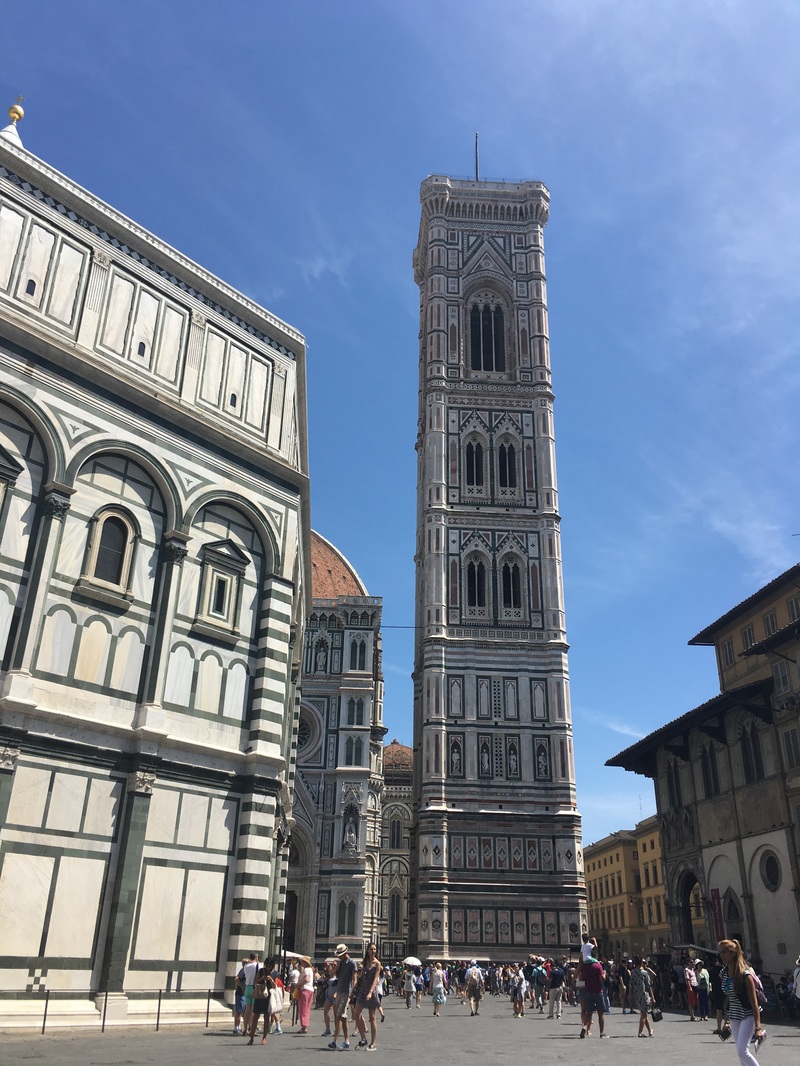
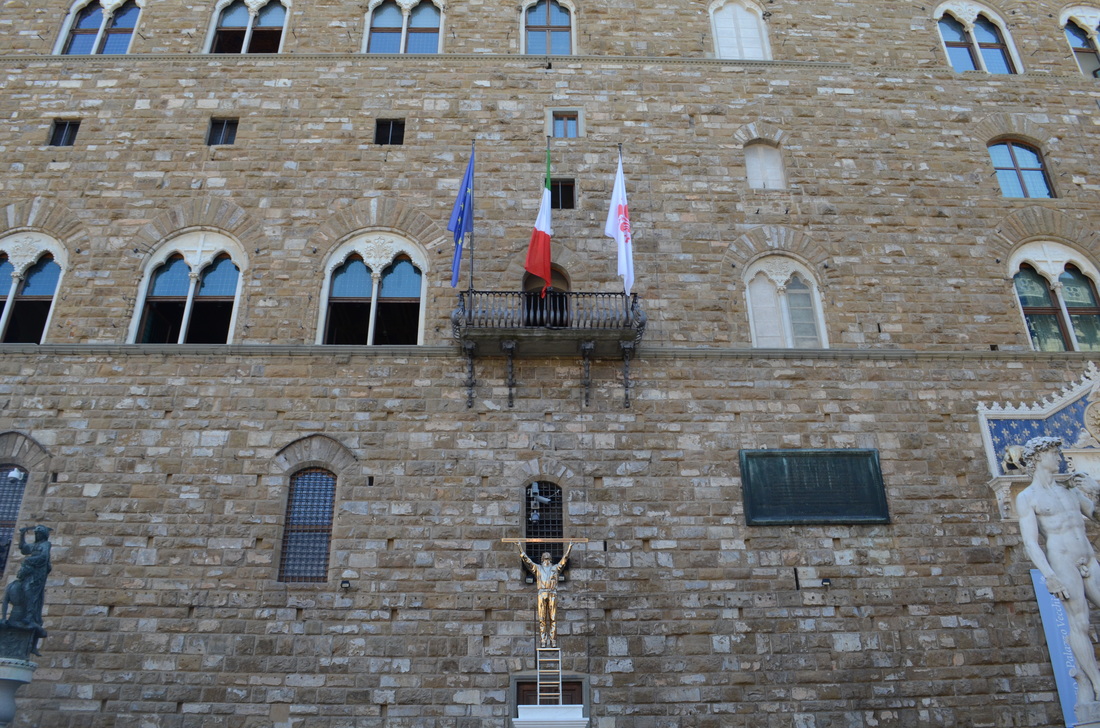
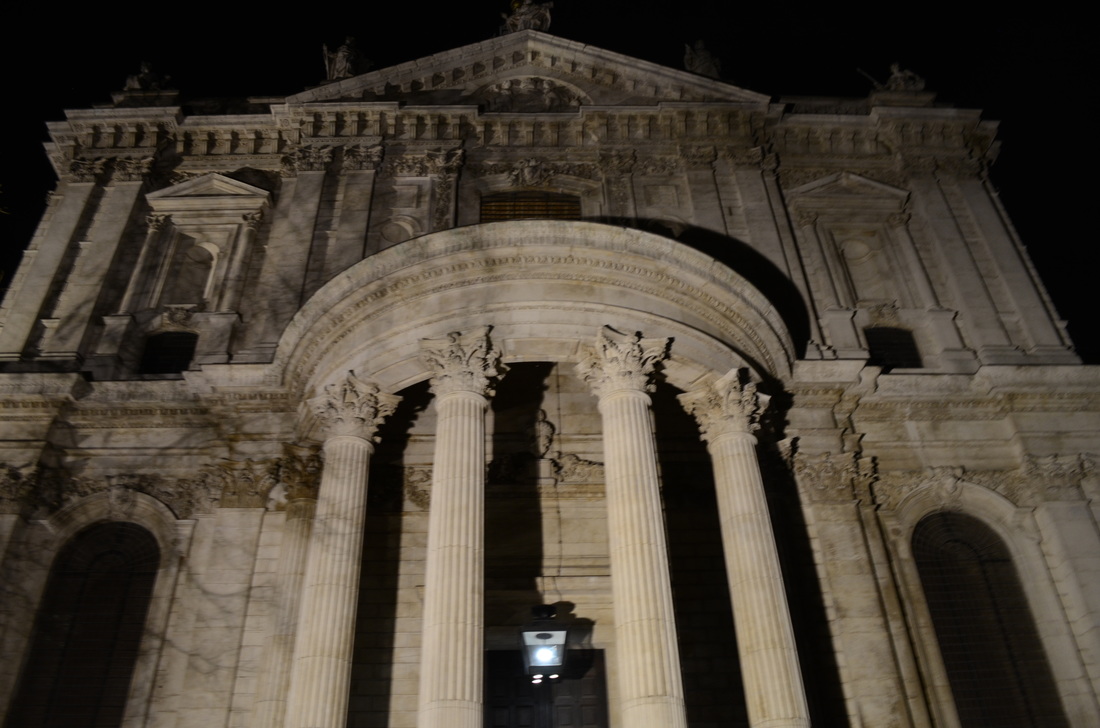
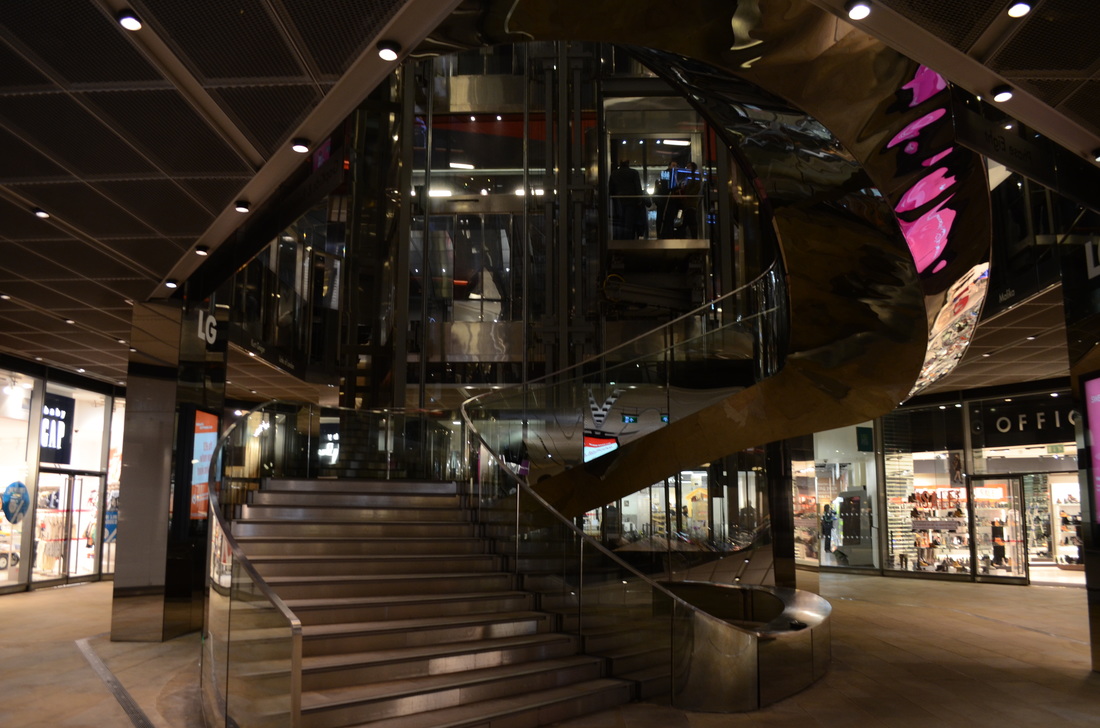
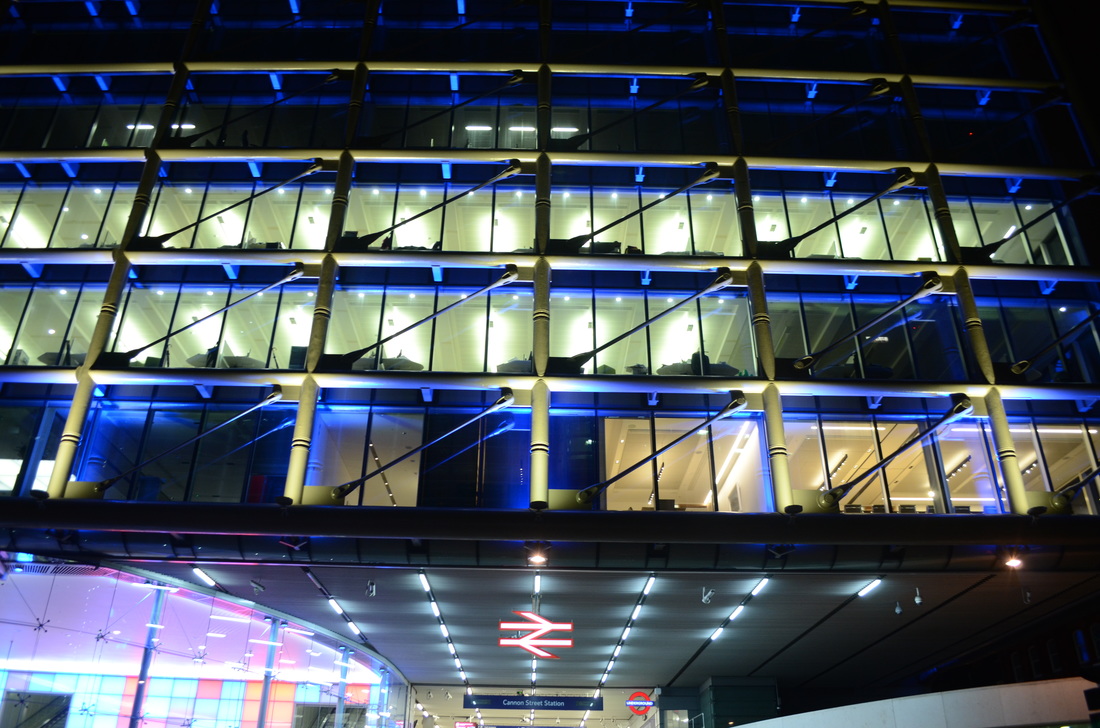
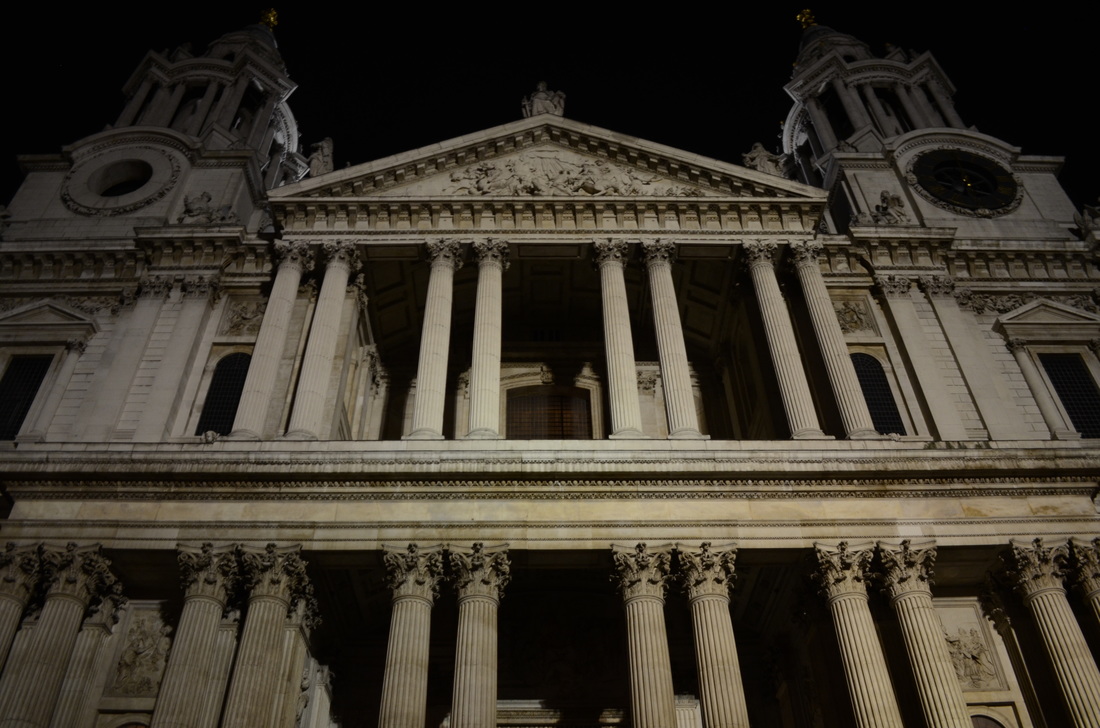
10 images on Architecture in Europe.

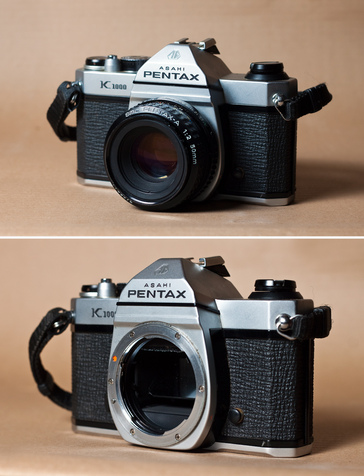
The film camera
35mm SLR Camera
|
A single-lens reflex camera (SLR) is a camera that typically uses a mirror and prism system (hence "reflex", from the mirror's reflection) that permits the photographer to view through the lens and see exactly what will be captured. This SLR was released in 1971 Up until the 1990s, SLR was the most advanced photographic preview system available, but the recent development and refinement of digital imaging technology with an on-camera live LCD preview screen has overshadowed SLR's popularity. Nearly all inexpensive compact digital cameras now include an LCD preview screen allowing the photographer to see what the CCD is capturing. However, SLR is still popular in high-end and professional cameras because they are system cameras with interchangeable parts, allowing customization.
|
|
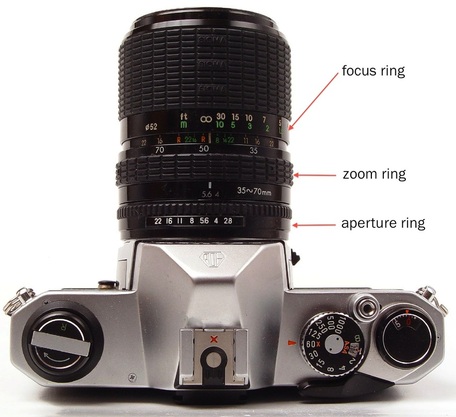
FocusWhen taking a photo, you will need to focus on your subject and this is usually the furthest ring on your lens and measured in metres or feet (see markings).
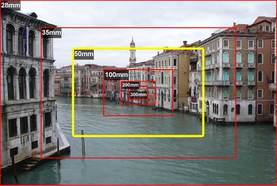
ZoomSome lenses allow you to view a range between focal lengths and these are known as 'zoom lenses'. Conversely, any focal length over 50mm will magnify the scene and is known as a telephoto lens.
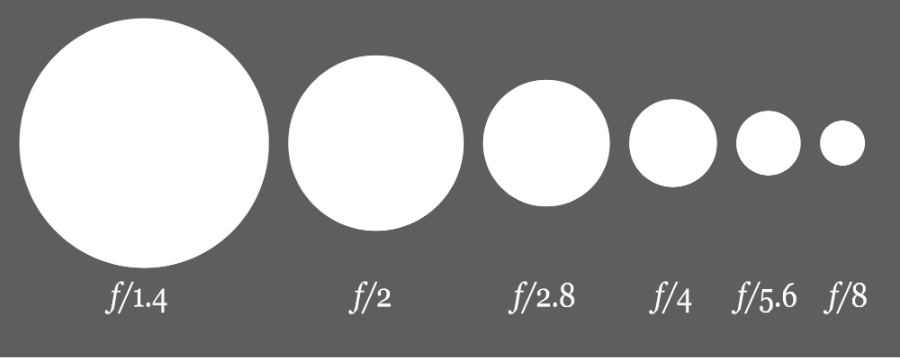
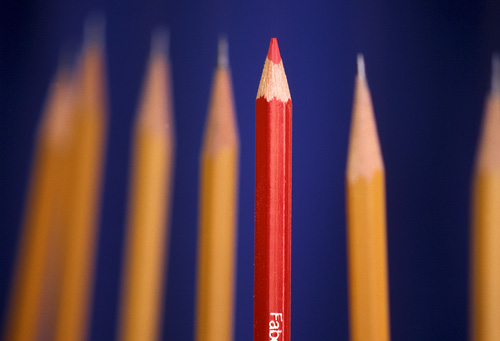
ApertureAperture is ‘the opening in the lens.’When you hit the shutter release button of your camera a hole opens up that allows your cameras image sensor to catch a glimpse of the scene you’re wanting to capture. The aperture that you set impacts the size of that hole. The larger the hole the more light that gets in – the smaller the hole the less light. Aperture is measured in ‘f-stops’.
|
Zoom |
Aperture |
Focus |
Types of film
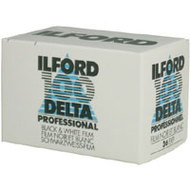
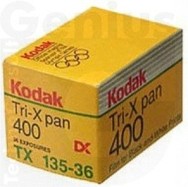
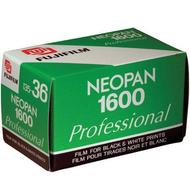
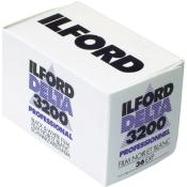
ISO 100 |
ISO 400 |
ISO 1600 |
ISO 3200 |
Photographic film is made of a type of plastic/acetate that is coated in a light-sensitive emulsion. The sensitivity of light is measured using a unit called ISO which is a standard used across the world and is an acronym for 'International Standardization Organisation'. So the darker it is the higher the ISO film you use.
Creating a Positive from a Negative.
Firstly you place the film role in the top of the enlarger so when you turn it on your enlarger the image is projected onto the stand below. Secondly you have to make sure the image is in focus by moving the dial.
Next you have to decide how bright and how long to expose the photographic paper for. You do this by covering parts of the paper with black card and move the card down exposing it more and more each time. As you can see the right hand side is the least exposed and the left is the most. I exposed them on 1 second intervals, so the far right is exposed for one second and the far left is exposed for 5 seconds.
Next you have to decide how bright and how long to expose the photographic paper for. You do this by covering parts of the paper with black card and move the card down exposing it more and more each time. As you can see the right hand side is the least exposed and the left is the most. I exposed them on 1 second intervals, so the far right is exposed for one second and the far left is exposed for 5 seconds.

once you have found the best time and brightness you use those settings to expose the whole paper at once.